The Idea
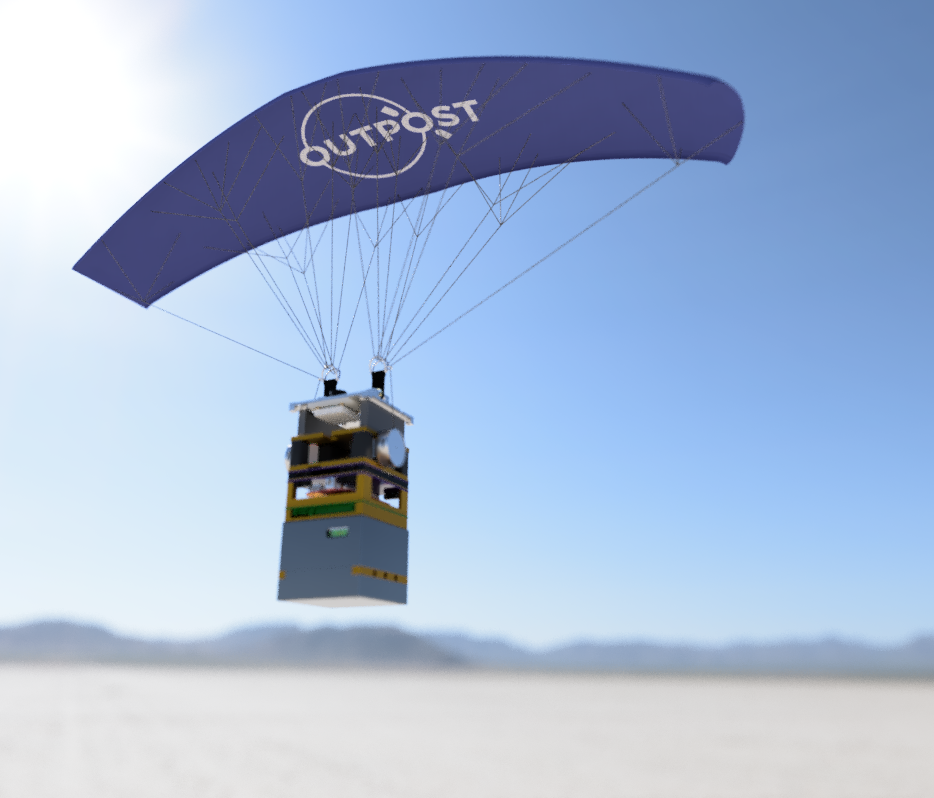
Outpost began with one of the co-founders developing a small, Arduino-controlled autonomous robotic paraglider capable of precise landings from high altitudes. This sparked my interest, and I decided I wanted to learn more about some of the flight dynamics of paragliders. Following the completion of our last cubesat project, I dedicated a week to repurposing leftover satellite components to construct a remote-controlled paraglider. This endeavor not only allowed me to gain practical experience with paragliders but I also got to demonstrated the creative reuse of existing technology in innovative ways.
The Concept
The original plan was to leverage existing parts by retaining the structure of the half of the cubesat that I had designed, with minimal modifications. My idea was to machine only the necessary parts to create pass-throughs and mounting holes for the motors and riser connections.
However, this approach faced some practical challenges. Given the limited time and not wanting to overburden my coworkers for assistance, I found it more feasible to replace many of the existing electronics with standard RC components. This decision significantly reduced the workload on the electrical and software fronts, allowing for a more streamlined development process.
Machining The Structure
The only custom component I fabricated for this project was the "motor mount," designed to secure the stepper motors to the existing cubesat spacer through a machined hole. The process began with attaching a stock aluminum plate to a sacrificial piece of thick scrap plate using clamps. I drilled two sets of four holes for structural mounting.
After removing the initial setup, I created a new fixturing plate from some additional scrap material. I machined a section on the x and y faces to establish a reference point for setting my zero, and drilled and tapped a hole pattern to align the mount plate with my design drawing. Using a taster, I zeroed the DRO and proceeded to mill the mounting plate's shape according to my drawing, including drilling holes for the motor mounts.
Finally, I used an arbor press to insert threaded inserts, allowing for motors to be bolted onto the mounting plate.


